Mobile App

Screen sharing is only available on iOS for the mobile app. On Android, you can view shared screens but cannot share your own.
PC App

Screen sharing functions properly only on Windows 10 version 20H2 and later.
For those using macOS 10.15 or later versions, you must check NAVER WORKS in 'System setting > Security & Privacy > Privacy > Screen Recording' to use screen sharing.
Share your screen during voice and video calls
Mobile App
- In the message room with the members you want to start a group call with, tap
 .
. - Tap 'Voice Call' or 'Video Call' to start a group call.
- Tap 'More' at the bottom right of the screen. Then tap 'Share Screen'.
For iPad, tap 'Share Screen' at the bottom right. - Select 'NAVER WORKS' and then tap 'Start Broadcast'.
If you select another app, screen sharing may not start correctly.
PC App
- Click
 or
or  at the bottom right of the message room.
 - After connecting to a call, click 'Share screen' at the bottom of the screen.
- Select a screen to share.
- Click 'Share'.
Select a screen to share
Mobile App
- On the screen to start the broadcast, tap 'Start Broadcast'.
- When screen sharing starts after 3 seconds, open the document or screen you want to share.
Once you start screen sharing on the mobile app, everything displayed on the mobile screen, including notifications, will be shared with other participants.
If you do not want notifications to appear during screen sharing, please enable 'Do Not Disturb' on your device before sharing screen.
PC App
- When you start screen sharing, you will see a window where you can select from monitor screen, web browser, application, whiteboard, etc.
You can also scroll up or down to check other screens you are currently using on your PC.
Select 'Share computer audio' to share computer sound when sharing the screen in Windows. - Select the screen to share and click 'Share'.
Handling screens as a screen sharer
PC App

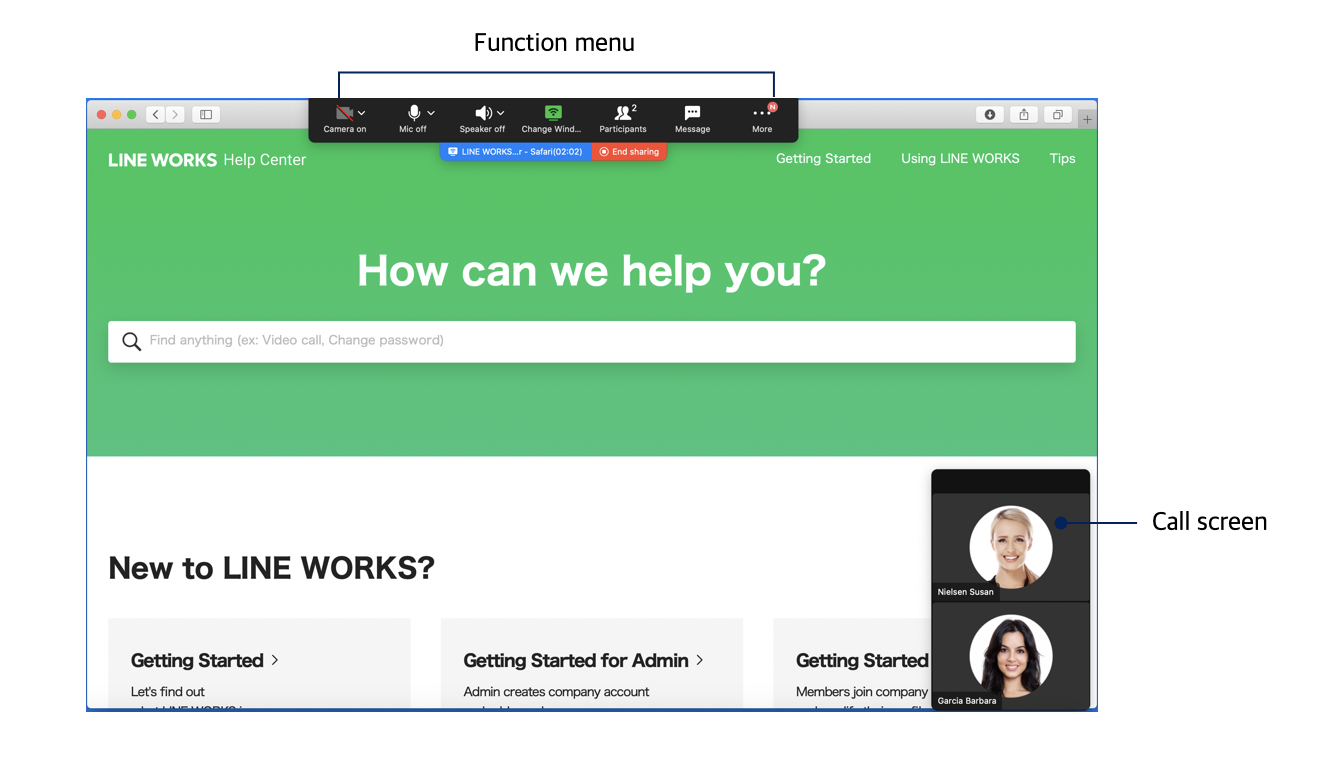
When screen sharing starts, the function menu appears at the top of the monitor screen, and the call screen is displayed at the bottom right.
The function menu and call screen are not displayed to other participants.
Function menu
The function menu disappears automatically. To view the menu again, hover your mouse over the top of the screen.
You can also click and drag the function menu to the location you want.
Call screen
Up to 4 call participants, including you, are displayed on one screen.
You can click, drag, and reach where you want.
Click the icon at the top to change the mode.
 : Hides the call screen and shows the name of the member who is currently speaking.
 : Displays the call screen of the member who is currently speaking.
 : Displays the call screens of up to 4 participants, including yourself, on one screen.
 : Displays the call screens of up to 16 participants, including yourself, divided on a single screen.
Participate in screen sharing
Mobile App
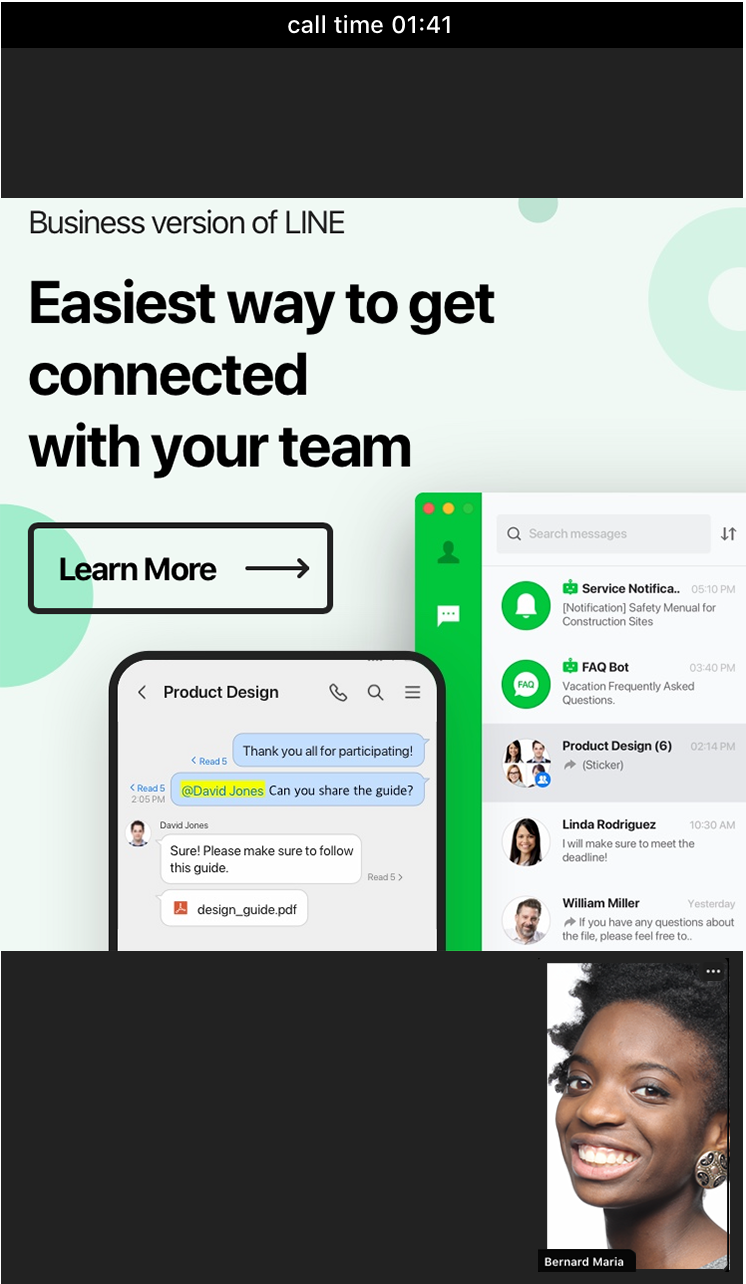
When screen sharing starts during a voice/video call, the shared screen automatically appears.
PC App
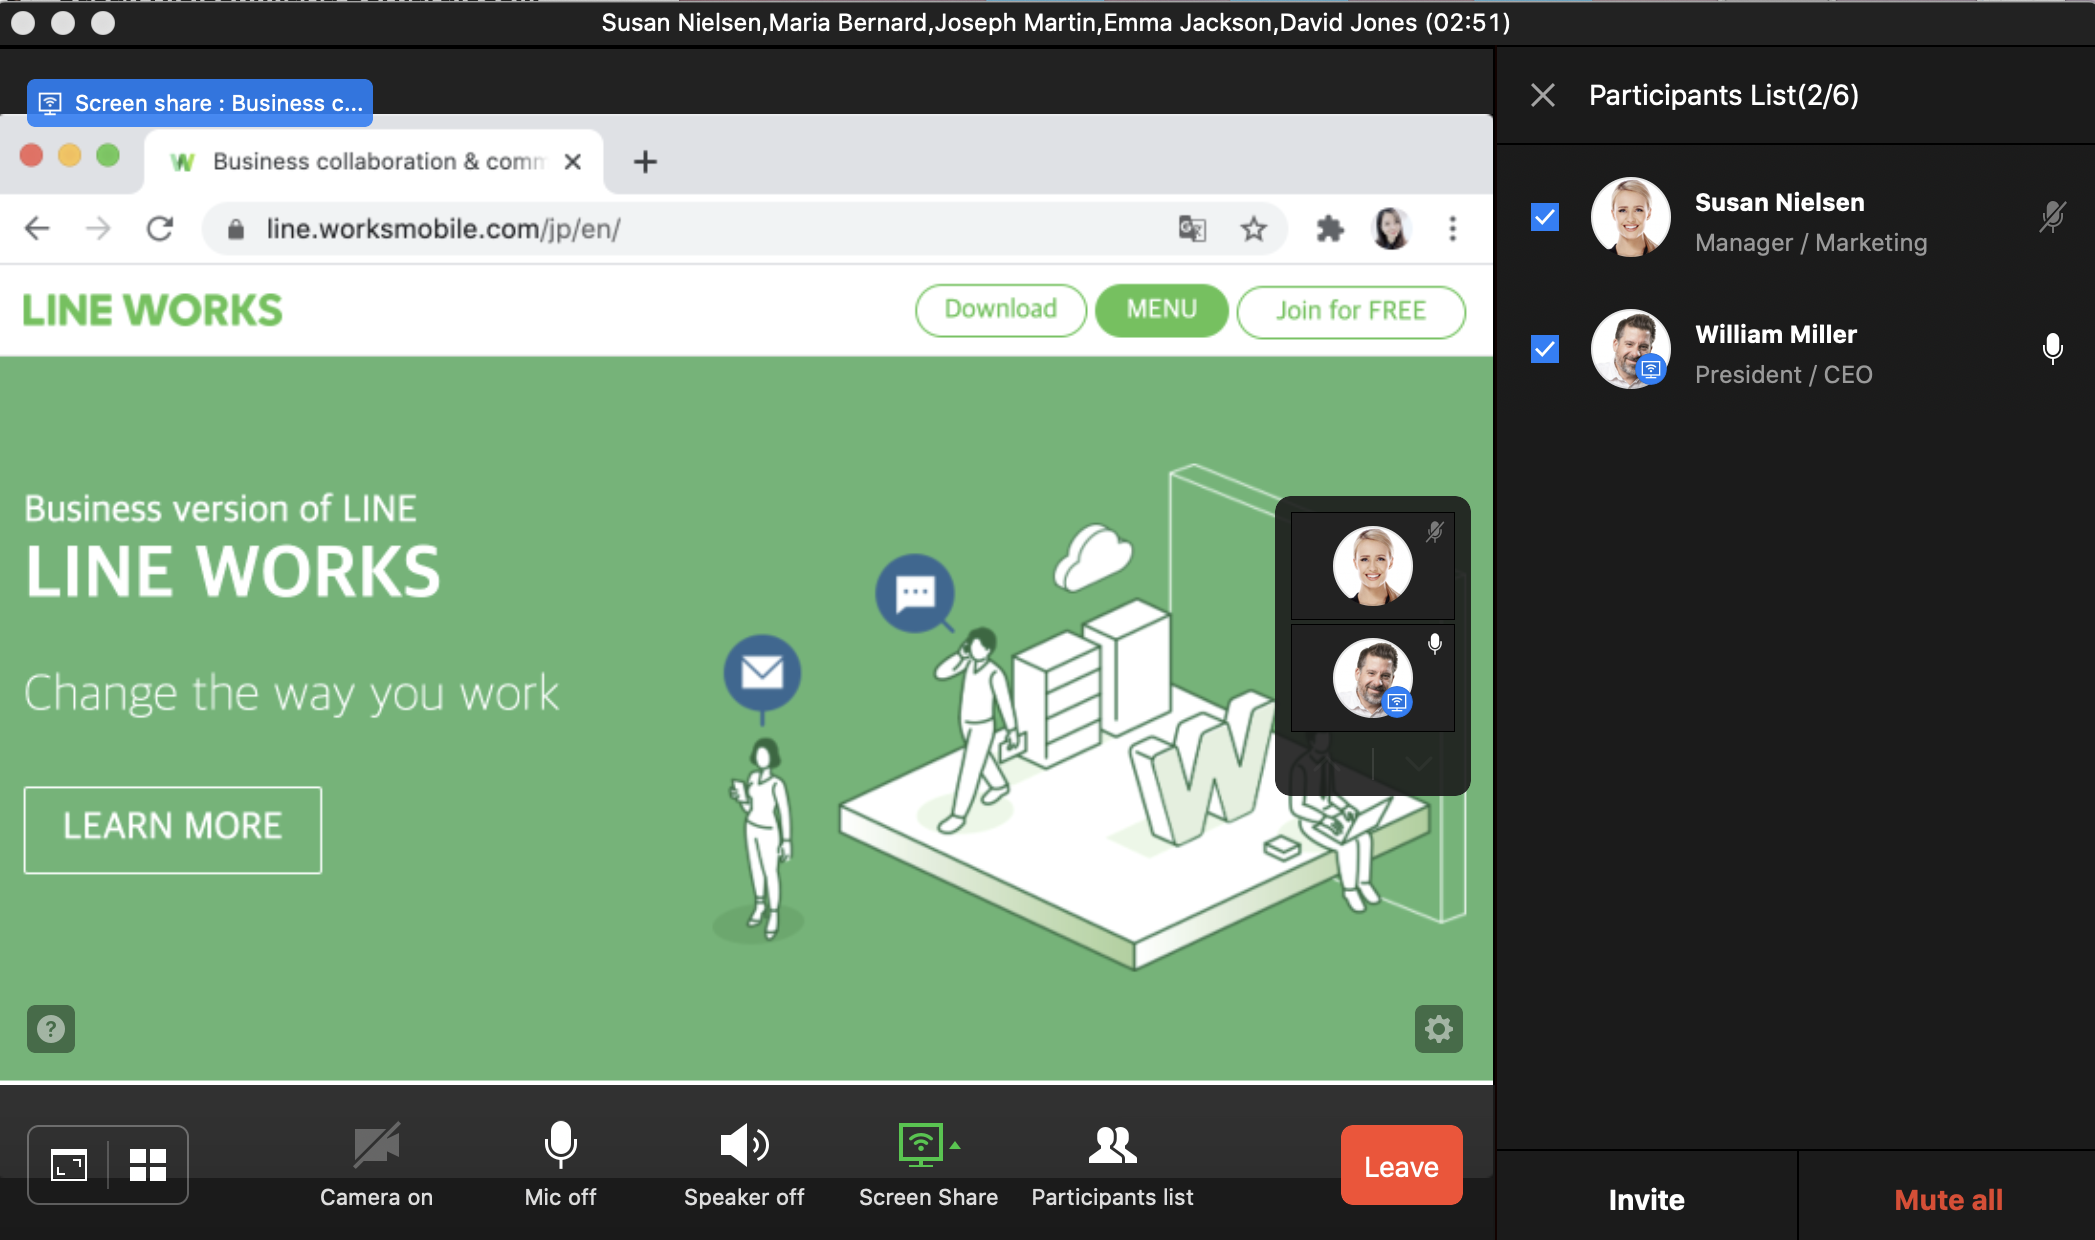
When screen sharing starts during a voice/video call, the shared screen automatically appears.
Zoom in/out the screen
You can enlarge or reduce the shared screen.
Mobile App
Spread or pinch your finger across the screen.
PC App
Find ![]() at the top of the shared screen.
at the top of the shared screen.
 : Reduce the screen
 : Enlarge the screen
 : Enlarge or reduce the screen at once
Change the shared screen
When the person who is sharing the screen wants to share another screen or when another participant wants to share their PC screen, they can use 'Change shared screen'.
PC App
- Click 'Share screen' at the bottom of the shared screen and click 'Change shared screen'.
- Click on the screen you want to change.
- Click 'Share'.
Presentation using screen sharing
You can do a PowerPoint presentation using screen sharing.
When using a single monitor
When using a single monitor, you can share a presentation screen while writing meeting notes or using video call functions.
PC App
- Open the PowerPoint file to present on.
- Click the 'Slide Show' tab at the top of PowerPoint and then 'Set Up Slide Show'.
- In the 'Set Up Show' window under 'Show type', select 'Browsed by an individual'. Then click 'OK' at the bottom of the window.
- From the 'Slide Show' tab, click 'Play from Start' to present the slide show.
- Start or join a video call on the NAVER WORKS app.
- Click 'Share screen' at the bottom of the call screen.
- Select the PowerPoint slideshow window as the screen to share. Then click 'Share'.
When using dual monitors
If you are using dual monitors, you can do a presentation by displaying the presenter notes and presentation screens on separate screens.
PC App
- Open the PowerPoint file to present on.
- Click the 'Slide Show' tab at the top of PowerPoint and then 'Set Up Slide Show'.
- In the 'Set Up Show' window under 'Multiple monitors', set the Slide show monitor to 'Automatic' or secondary (external) monitor. Then click 'OK' at the bottom of the window.
- From the 'Slide Show' tab, click 'Play from Start' to present the slide show.
- Start or join a video call on the NAVER WORKS app.
- Click 'Share screen' at the bottom of the call screen.
- Select the secondary (external) monitor screen displaying the slide to share. Then, click 'Share'.
Share whiteboard
By sharing a whiteboard during a voice/video call, all participants can draw shapes or drawings on the canvas in real time.
However, on Android, you cannot share a whiteboard yourself. You can only join in and edit.
Mobile App
- Tap
 in the message room.
 - Tap 'Voice Call' or 'Video Call' to start a group call.
- Tap 'More' at the bottom right of the screen. Then tap 'Share Screen'.
For iPad, tap 'Share whiteboard' at the bottom right. - Select 'Share whiteboard' and then tap 'Start broadcast'.
PC App
- Click
 or
or  at the bottom right of the message room.
 - Select 'Share screen' on the screen you want to share.
- On the screen to share, select 'Whiteboard'.
- Click 'Share'.
Whiteboard screen
All participants can edit whiteboards together by default.
However, if the member who shared the whiteboard disables 'Allow participants to edit', the participant cannot edit the whiteboard.
 Pen: You can draw freely with a regular pen or highlighter.
 Shape: You can select a rectangle, triangle, or ellipse to insert.
 Line: You can insert straight, one-way, or two-way arrows.
 Text: You can enter texts. You can use italics or bold text.
 Color/thickness: You can select the color and line weight for pens, shapes, lines, and texts.
 Add Image: You can add images that are on your device. The image formats that you can add are .jpg, .png, .gif and .bmp.
 Eraser: You can erase marks drawn by yourself or other members one by one.
 Select/Move: You can select/move, resize, and delete marks drawn by yourself or other members.
 Undo/Redo: You can undo or redo the changes you made.
 Trash: You can start a new whiteboard by deleting all drawings you or other members have drawn.
 Save: You can save your whiteboard creation as an image file.
 More: Appears only to a member who has shared the whiteboard. The member can allow or restrict co-editing with other members by selecting or unchecking 'Allow participants to edit'.
Exit the whiteboard
Members who have shared the whiteboard can end the whiteboard.
However, if another member shares a new screen or starts a whiteboard while sharing a whiteboard, the existing whiteboard will end.
If the member you shared the whiteboard with before the call ends, exits and restarts the whiteboard, the edits to the existing whiteboard will be preserved.